Welcome to the livery and edit preview tutorial. Make sure you follow through the previous tutorials and open up the add-on you created with a new livery if it isn’t already open.
One of the features of the Livery Editor is the ability to update content in Flight while it is running. The purpose of this is to allow you to make changes to textures and liveries and see the results in Flight without having to restart it. If Microsoft Flight isn’t already running, start it now and you should see the red X in the Livery Editor toolbar turn to a green circle within a couple seconds. See below for what it should look like if a connection was made.
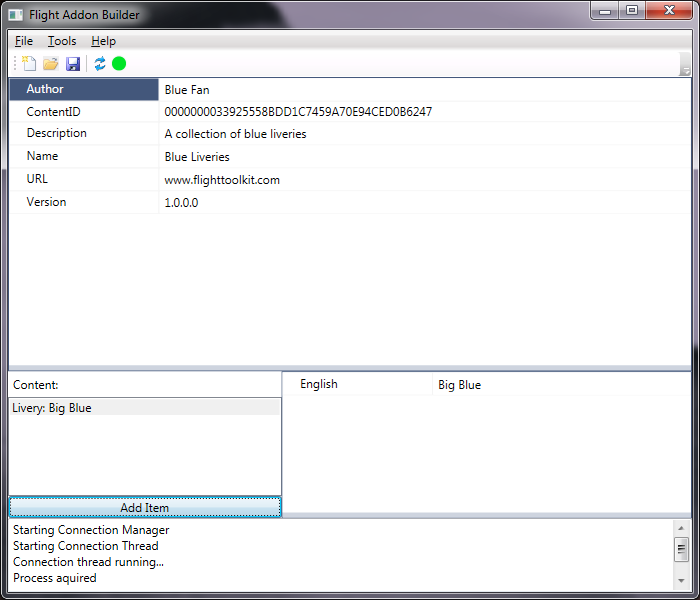
You can now hit the reload button next to the green light and your new livery will show up in the hangar. Since we haven’t modified any of the textures yet, it will look just like the one we copied, but you will notice that the name of the paint scheme is the new name (Big Blue in my case)

Using any texture editor that supports dds file you can now modify the textures. Here you can see the textures for the livery. Textures ending with _AR contain the main color and reflection channel. Textures ending in _A contain transparency, and _S is the specular.

For this tutorial I will just do a simple hue shift to make the red turn blue starting with the Stearman_AR.dds texture. Once you make your changes, make sure to save them using the same format as the original texture. When you are finished hit the reload button in the Livery Editor to see the content update in Flight.
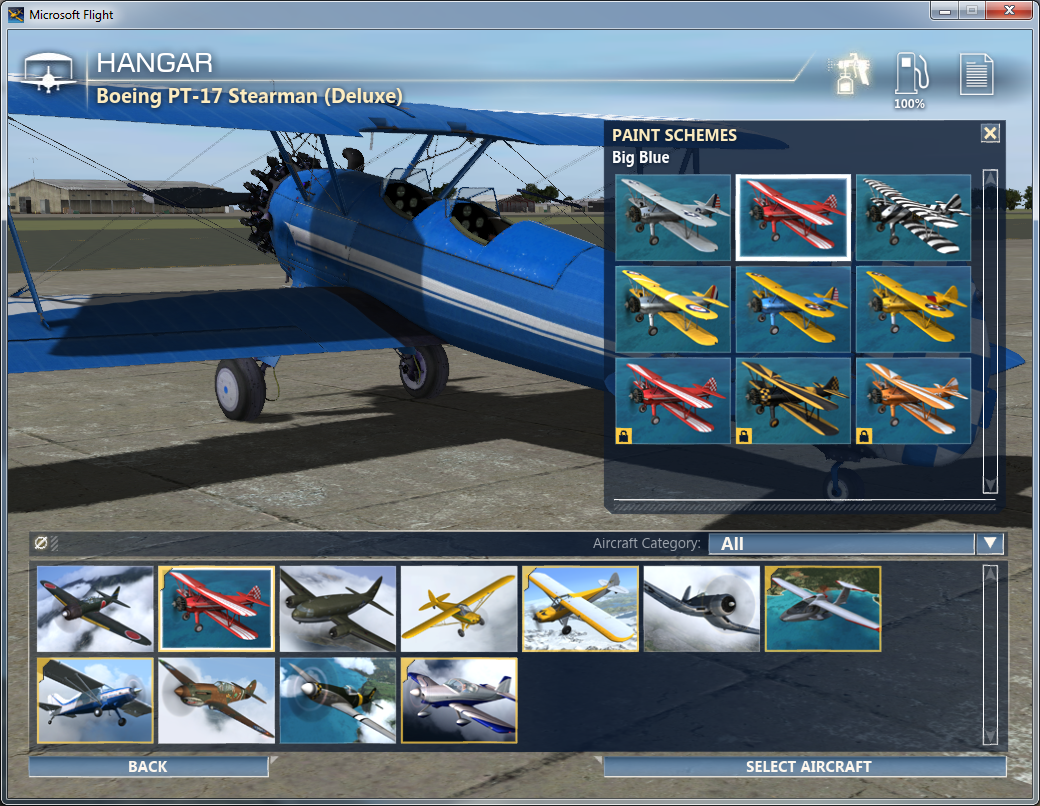
This is good but the icon for the aircraft still shows the red livery. For this tutorial I will just hue shift that texture as well, but you could easily take a screenshot of your livery within Flight and use that instead. Just make sure it is in the same format and size (the icons for the liveries are in png and not dds format). It may also be in a different directory than the other textures.

After updating the texture and clicking reload, the UI in Flight updates but only in the lower aircraft selection. It appears that you have to exit the hangar and return for the icon in the paint schemes selection to update. After reload:
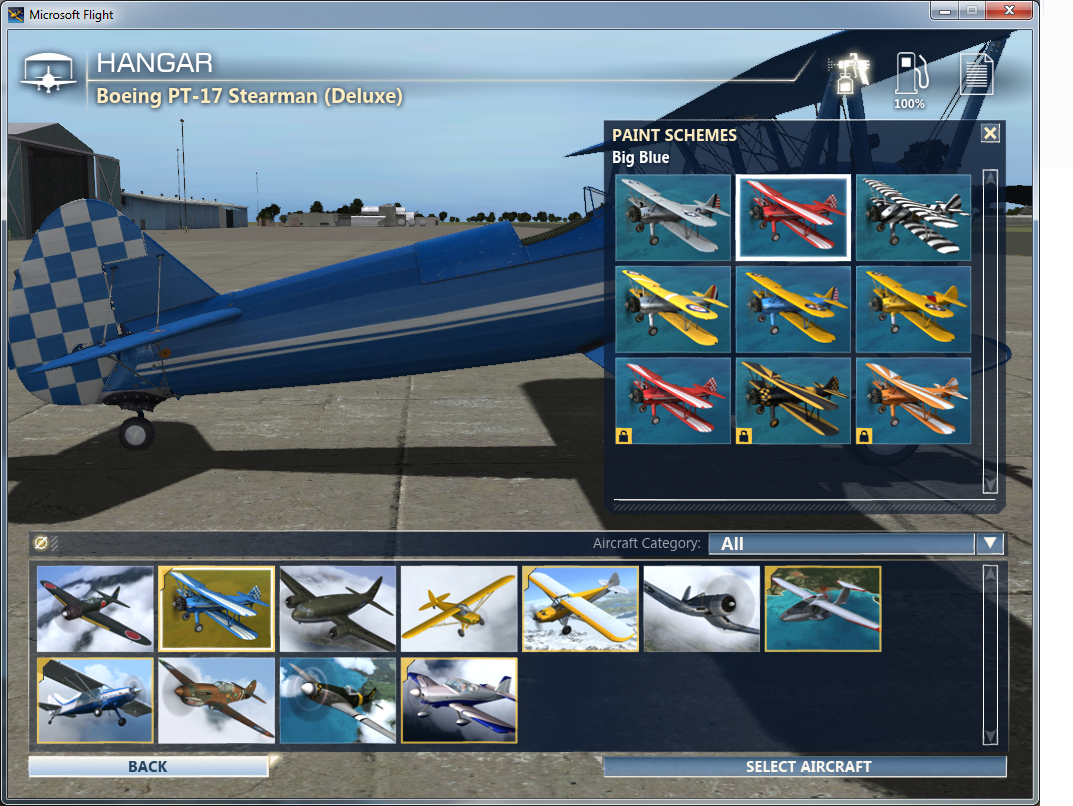
After backing out of the hangar and returning:

The reload also works while you are flying. Lets take a look at our creation by starting a free flight:
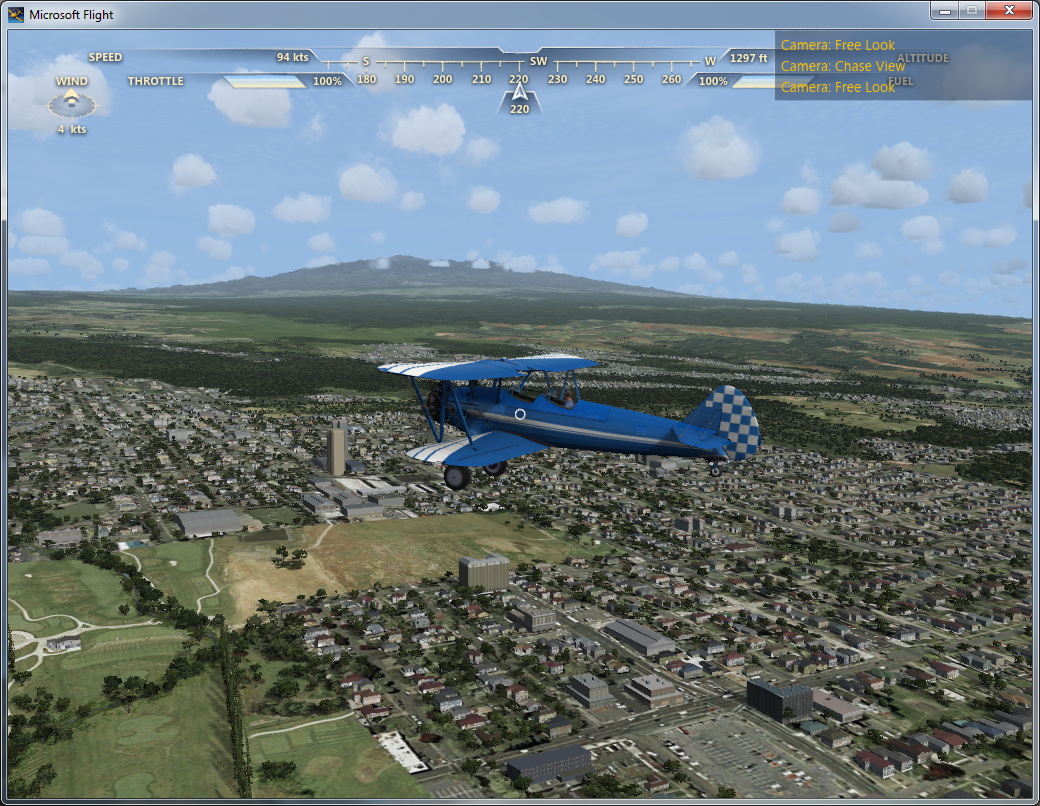
Looks good but after switching to the cockpit camera, there is a problem. Some parts of the interior are still red! This is because we have not changed the interior texture yet.
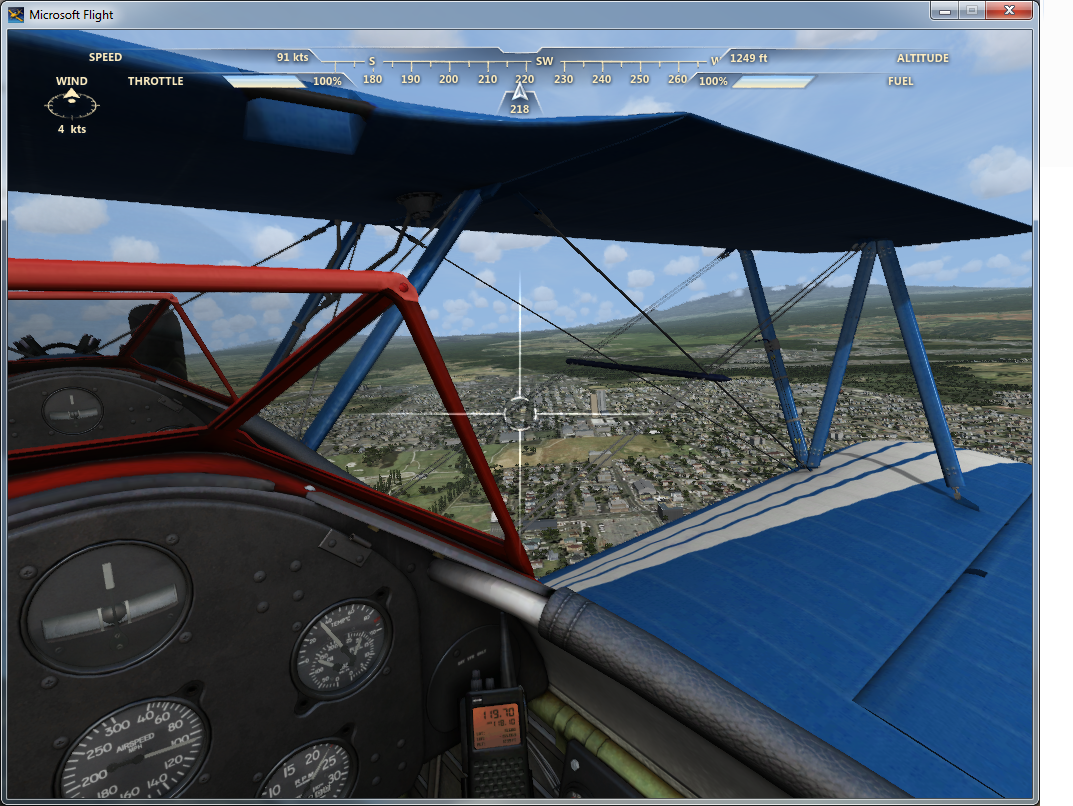
We can find that texture in the same folder as the exterior texture:

After modifying that texture we can hit reload in the Livery Editor and see Flight update almost instantly:
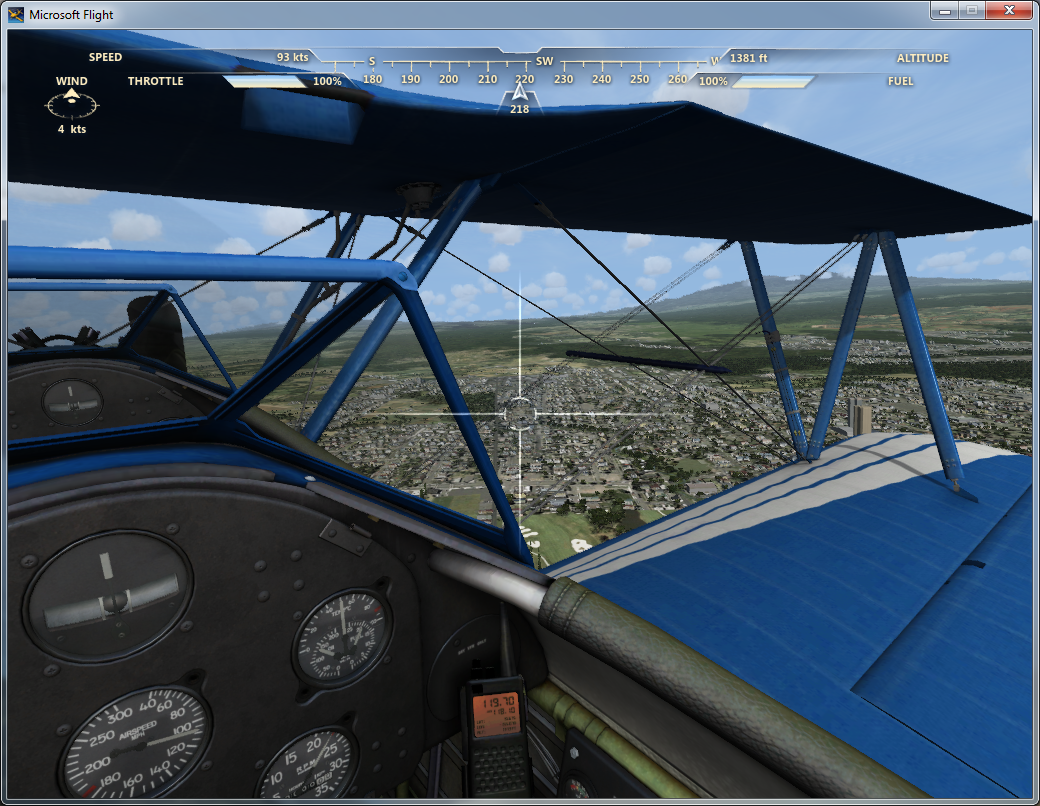
A couple notes regarding the rapid iteration functionality. The rapid iteration functionality only lets you preview the addon that is currently loaded in the Addon Builder. Make sure that you are not actively flying a preview aircraft when switching to another addon or it may disappear and Flight will not be able to perform correctly, potentially crashing. To understand how to make the livery a permanent addition without running the Addon Builder, continue on to the Export an Addon and Install an Addon tutorials.