This tutorial will run through the steps of creating and naming your new addon.
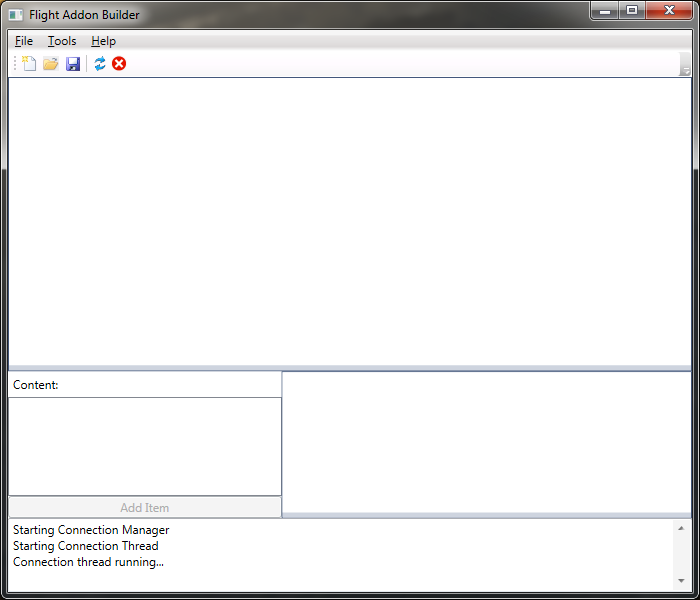
Start by running the Flight Addon Builder (you should be able to find it in All Programs\Flight Tools\Flight Toolkit\Addon Builder). The below image is what you should see. The first three buttons on the tool bar are your standard New, Open and Save. The 4th icon is a button is used for rapid iteration. The 5th button will turn green if Flight is running and the tool has a valid connection. This needs to be green before rapid iteration functionality will work.
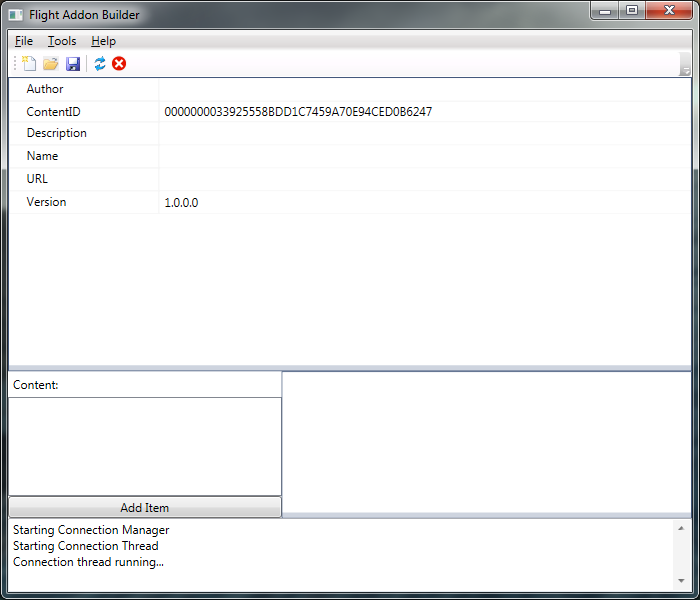
Create a new add-on by clicking the “New” icon in the toolbar, using the menu (File->New) or the keyboard shortcut (default is Ctrl+N). This will prompt you to enter a file name where the settings for the new addon will be stored. You should be able to choose any folder on your PC, but I recommend storing them in a new empty folder. This will create an empty addon with some default properties, and you should see something like this:

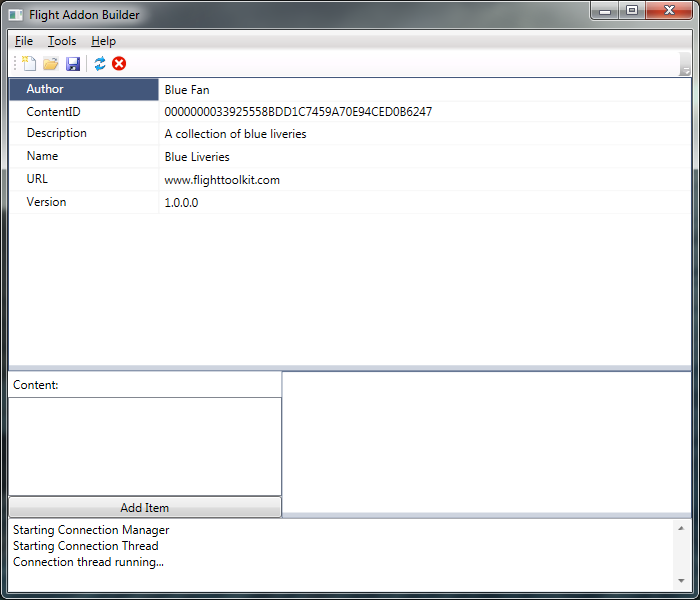
In order to export an addon we will need to at least give it a name. It is highly recommend you also fill in the Author, Description and URL fields to assist people who may want to know where they need to go to download the addon. I’m entering an example here:

Those are the basics on how to create a new addon. Make sure to save your addon once you enter the details for it. You can open it later when you want to continue working on it. Continue on to the next tutorial to add new liveries to your addon.