This tutorial will run through the steps required to create a new livery for Flight.
If you haven’t already created a new addon you should do so by following the previous tutorial.
Start by running the Addon Builder (you should be able to find it in All Programs\Flight Tools\Flight Toolkit\Addon Builder). Open up the addon from the previou tutorial if it isn’t open already. It should look something like this:
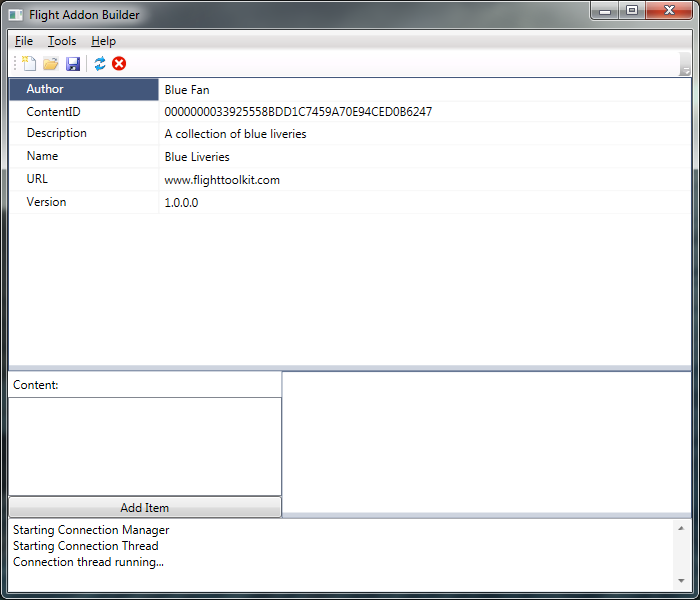
Create a new livery by clicking the “Add Item” button. This will launch the new content wizard:
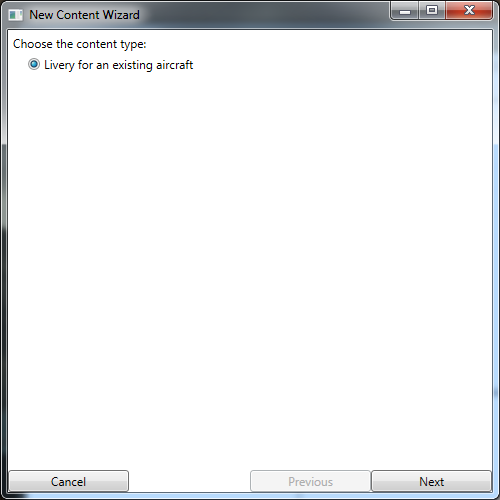
Right now the only option is to create a new livery, so just hit next. This will open up the livery selection page. This will allow you to select an aircraft and livery you want to base your new livery off of. For this tutorial we will use the Stearman Big Red livery as a starting point for our new livery. Expand the Boeing PT-17 Stearman and select Big Red. Hit Next to continue.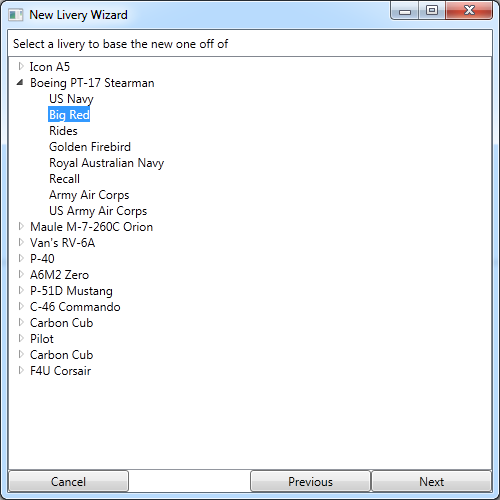
This takes us to the asset select screen. This will list all the material variations, materials and textures that are part of the livery. For a deluxe aircraft, there are two material variations, one for the interior and one for the exterior. Basic aircraft only have the exterior material variation. The asset selection screen is already setup with the customized textures selected. Usually you can just use the default selection here unless you want to modify more of the aircraft textures. If there are textures you are not planning to change, it is usually best to unselect them so that you can share the existing texture instead of having to use more memory by making a copy.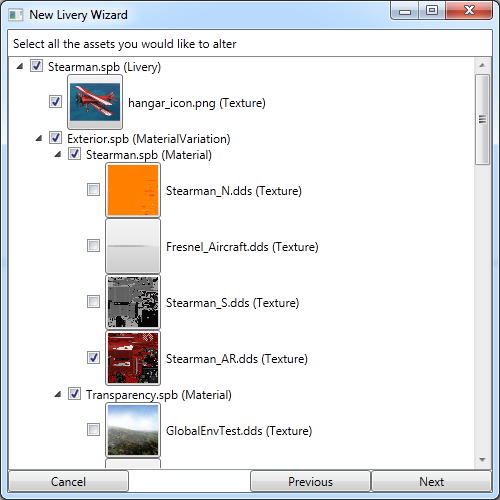
For a closer view of some of the textures you can click on the preview to open a larger version. Once you are done looking at this just click Next as we will be using the defaults.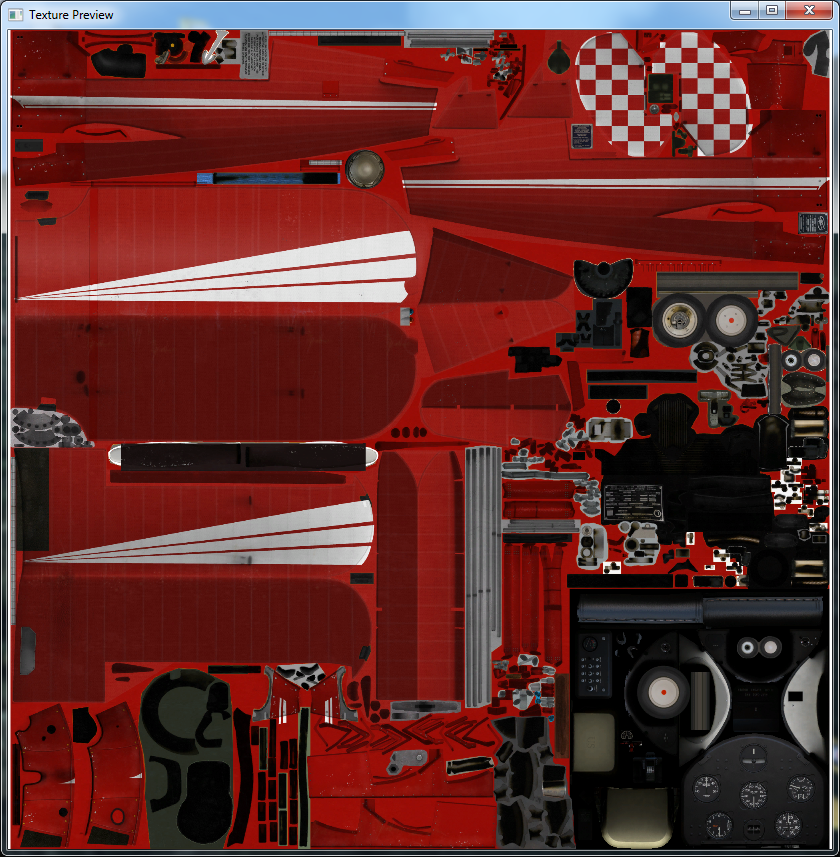
This will take you to the livery details page. On this page you will name you new livery. If you don’t like it don’t worry you will be able to change it later. Name your livery now (I chose Big Blue). The other option on this screen is the texture output options. By default it will export the textures in the same format that Flight uses, but if you have image editing software that supports PSD files you may want to export them as a PSD instead so that you can maintain layers and avoid having to compress the textures while you are working on them. The tool will automatically convert the PSD textures to the correct format when it exports the addon. Select the output format you would like. You can’t change this later, so make sure you use the one you want. Click Next once you have decided.
This will show the final placeholder page for the wizard. Click Finish to save your livery to disk. This will add the livery to the addon and create a subdirectory containing the new textures for your livery (this may take up to 30 seconds if there are a lot of textures).
Here is what the layout of the files looks like:
Once the livery is created you should see a screen similar to this.
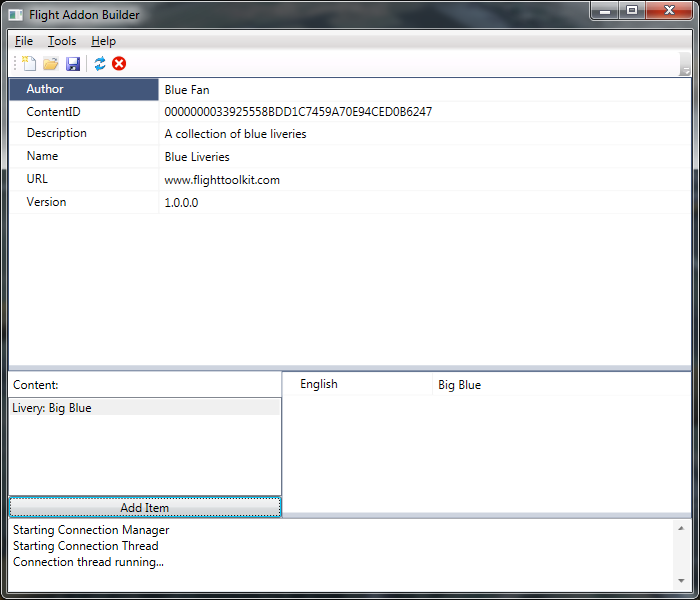
You now have a new livery in your addon! If you would like to rename your livery you can do so in the lower right hand corner. Make sure to save your updated addon, and continue on to the next to tutorial on how to edit and preview your liveries.