This short tutorial will run through how to take a finished addon and turn it into an installable addon for Microsoft Flight. Make sure you built a sample addon by following the previous tutorials.
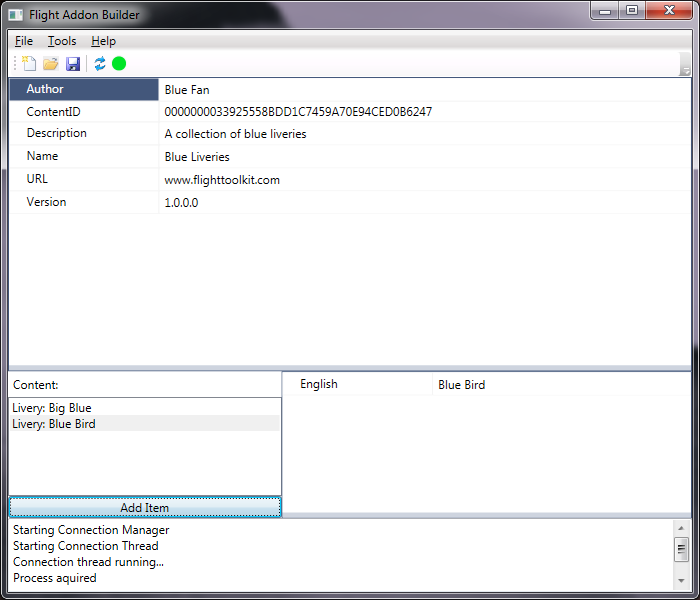
Open up the previously created addon if is isn’t already open. You can add multiple liveries to your addon before exporting if you wish. Follow the New Livery and Edit Livery tutorials again if you need a refresher on how to do that. When adding multiple liveries keep in mind that if you add liveries for multiple different DLC aircraft any user will have to own all of the DLC aircraft in order to install and use your addon. I’m adding a livery for the Icon here since I know it comes with Flight and the Stearman so it doesn’t add any extra dependencies.

Once you have set the appropriate properties, and added the liveries you want, you can save the settings to an .addonSettings file by using the save command. This will allow you to open it later to make changes or repackage the addon (such as if you make changes to any of the liveries). To actually distribute and install the addon you need to export the addon via File->Export. This will create a .flightAddon file that can be distributed online and installed into Flight by the Addon Manager.
Each time you export it will increase the version number of the addon. This allows you to distribute updates to addons that will automatically uninstall the old addon. If you are doing a major release you can also manually change the version number before exporting.
That concludes the tutorial. See the Addon Manager tutorial for the last step in the process of installing an addon.