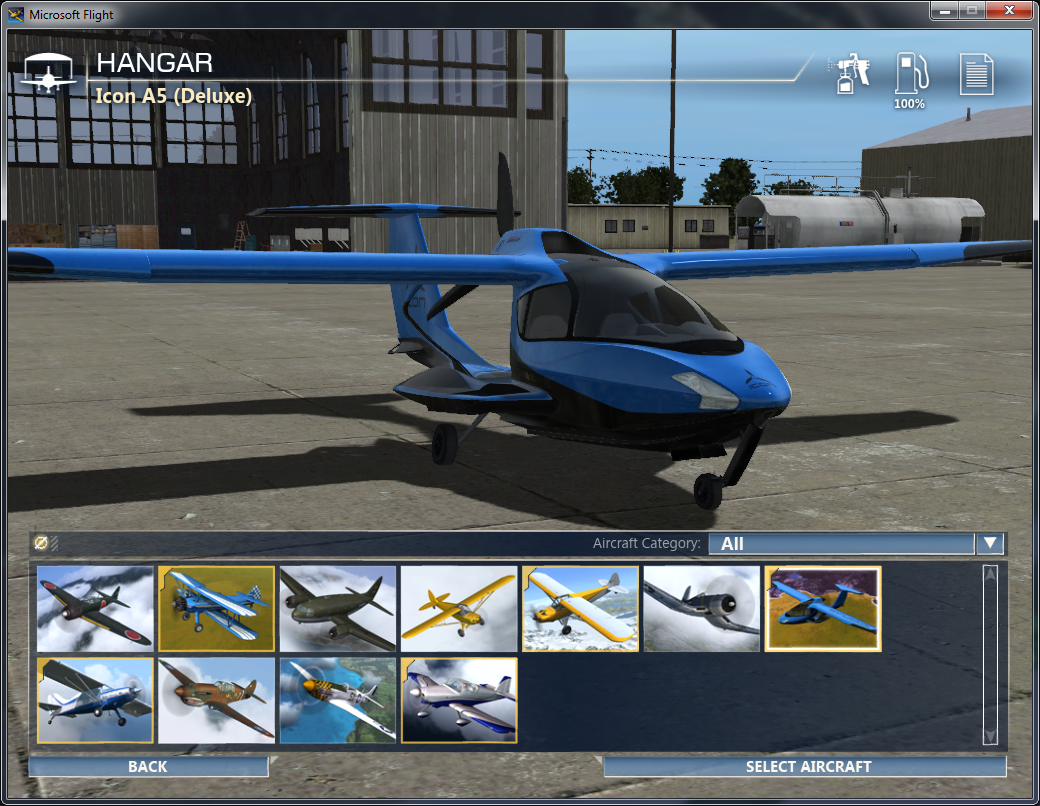
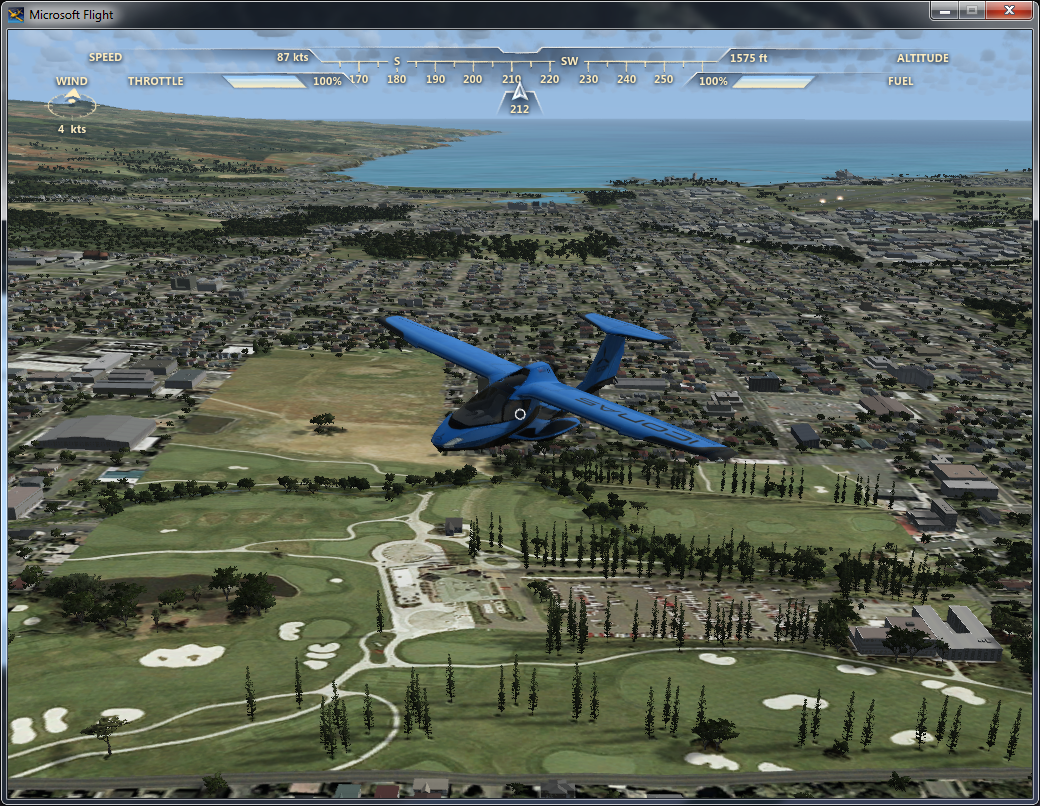
This short tutorial will run through how to install, and enable a new Flight addon. To be able to install and enable 3rd party addons you must own and have installed the Alaska Wilderness Pack.
There are two primary ways to install a Flight addon. The first way is to double click a .flightAddon file. This will automatically open up the Addon Manager and install the addon. The second way is to manually do it within the Addon Manager. I’ll show you that here. Start by opening the Addon Manager (All Programs\Flight Tools\Flight Toolkit\Addon Manager). This is what it will look like before any 3rd party addons are installed. It will show the core content of Flight along with all the DLC you have installed.
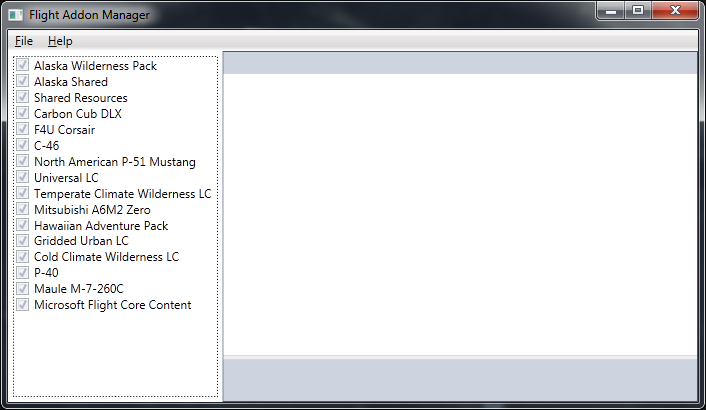
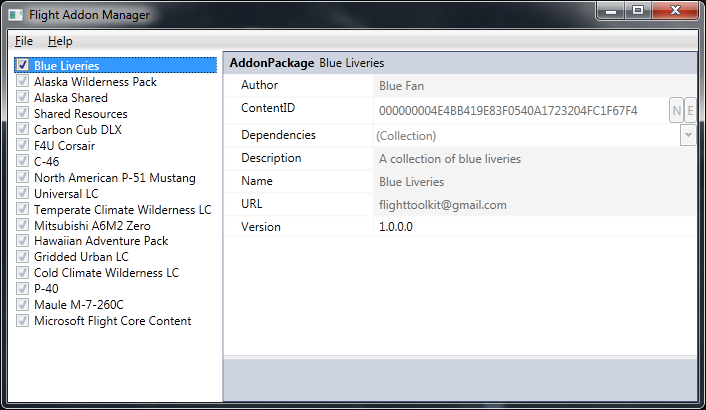
You can install a new adding by going to File->Install and then selecting a .flightAddon file. I’m going to install the addon that I created in the Addon Builder Tutorial. It will look like this after:
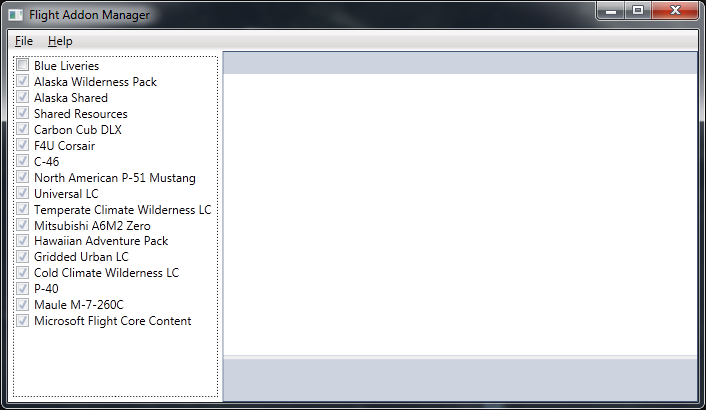
By default newly installed addons are disabled. You can click the check box next to the addon to enable it. This can only be done while Flight is not running. If Flight is running then enabling, disabling and uninstalling addons will not work. Addons may depend on other addons and cannot be enabled until all their dependencies are installed and enabled as well. If you have the required addons installed, but not enabled you will be prompted if you would like to enable them as well. As you will notice all Microsoft DLC check boxes are disabled. This is because Microsoft DLC cannot be disabled or uninstalled through this tool. Enable the new addon you just installed now. You can also click on an addon in the list to see details about the addon.
You can now launch Flight and use your new addon! Have fun flying!
